
Step #1 - Pick out what packet of fabric you wanted to make your pillow out of and then pick out 3-5 pieces of applique to coordinate with your pillow. Cara chose a stripe fabric for her pillow and then 3 diamond shaped appliques. The best part about this project at this point was that the fabric and appliques were already cut out for the 4-Her.
 Step #2 - Iron the large square of fabric so that it had no wrinkles. I should also say that Cara has never used an iron either. Personally, I don't iron very much either.
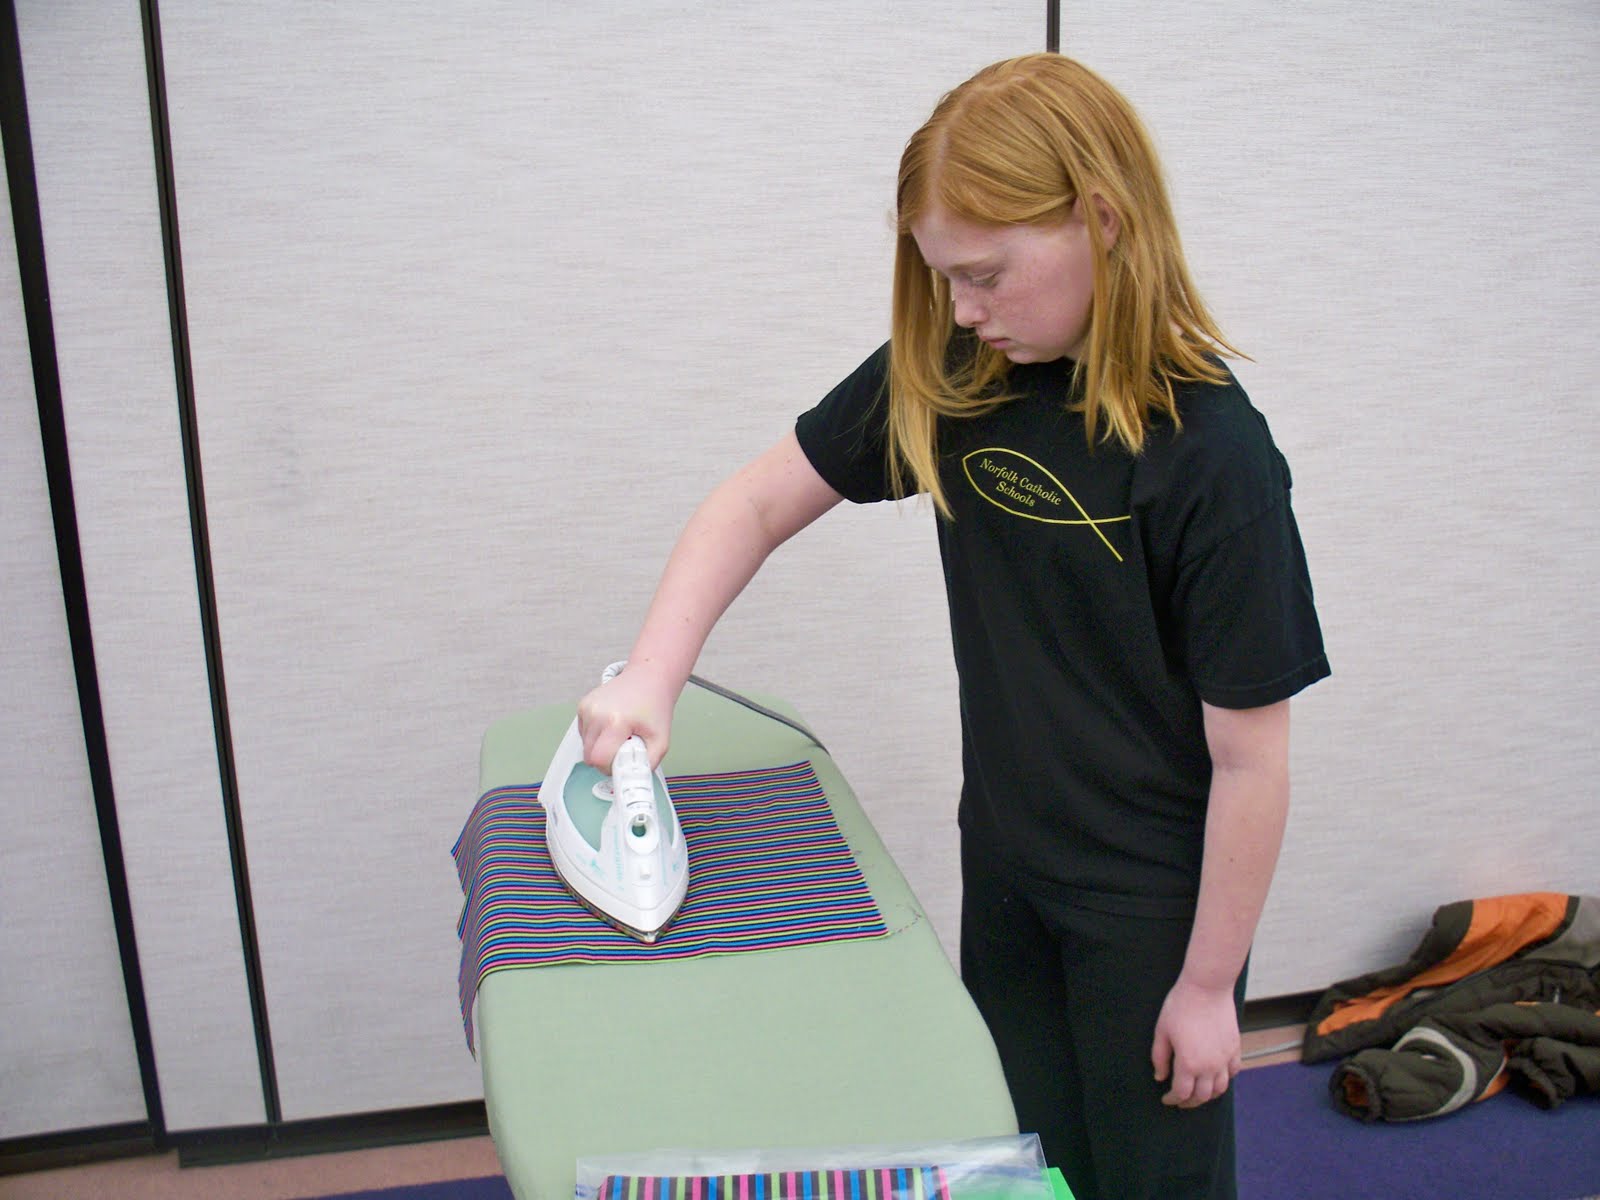
 Step #3 - Decide where to position your appliques on your big square of fabric and iron then in place.
 Step #4 - Pin your large square of fabric to two smaller rectangle pieces of fabric creating an envelope in the back of the pillow. Cara at this point sewed four seams - one for each side of the pillow. This was a very challenging step. She practiced making a sewing a seam first on a piece of sample fabric. Then on her first seam on her pillow the underside wasn't sewing properly because the machine tension was off. I ripped out the seam and we started over. Then after completing two seams, her bobbin ran out of thread. Cara was ready to give up at this point, but I told her that she was almost finished. Then she turned her pillow right side out to look like the pillow above.
 Step #5 - You could either finish your applique seams with the sewing machine or with fabric paint. Cara opted for the fabric paint since she is not an experienced sewer. This is her finished pillow with the fabric paint drying.
Take care,
Michelle
Well, Cara is ahead of me! I almost never iron and couldn't make a pillow if I tried.
ReplyDelete